

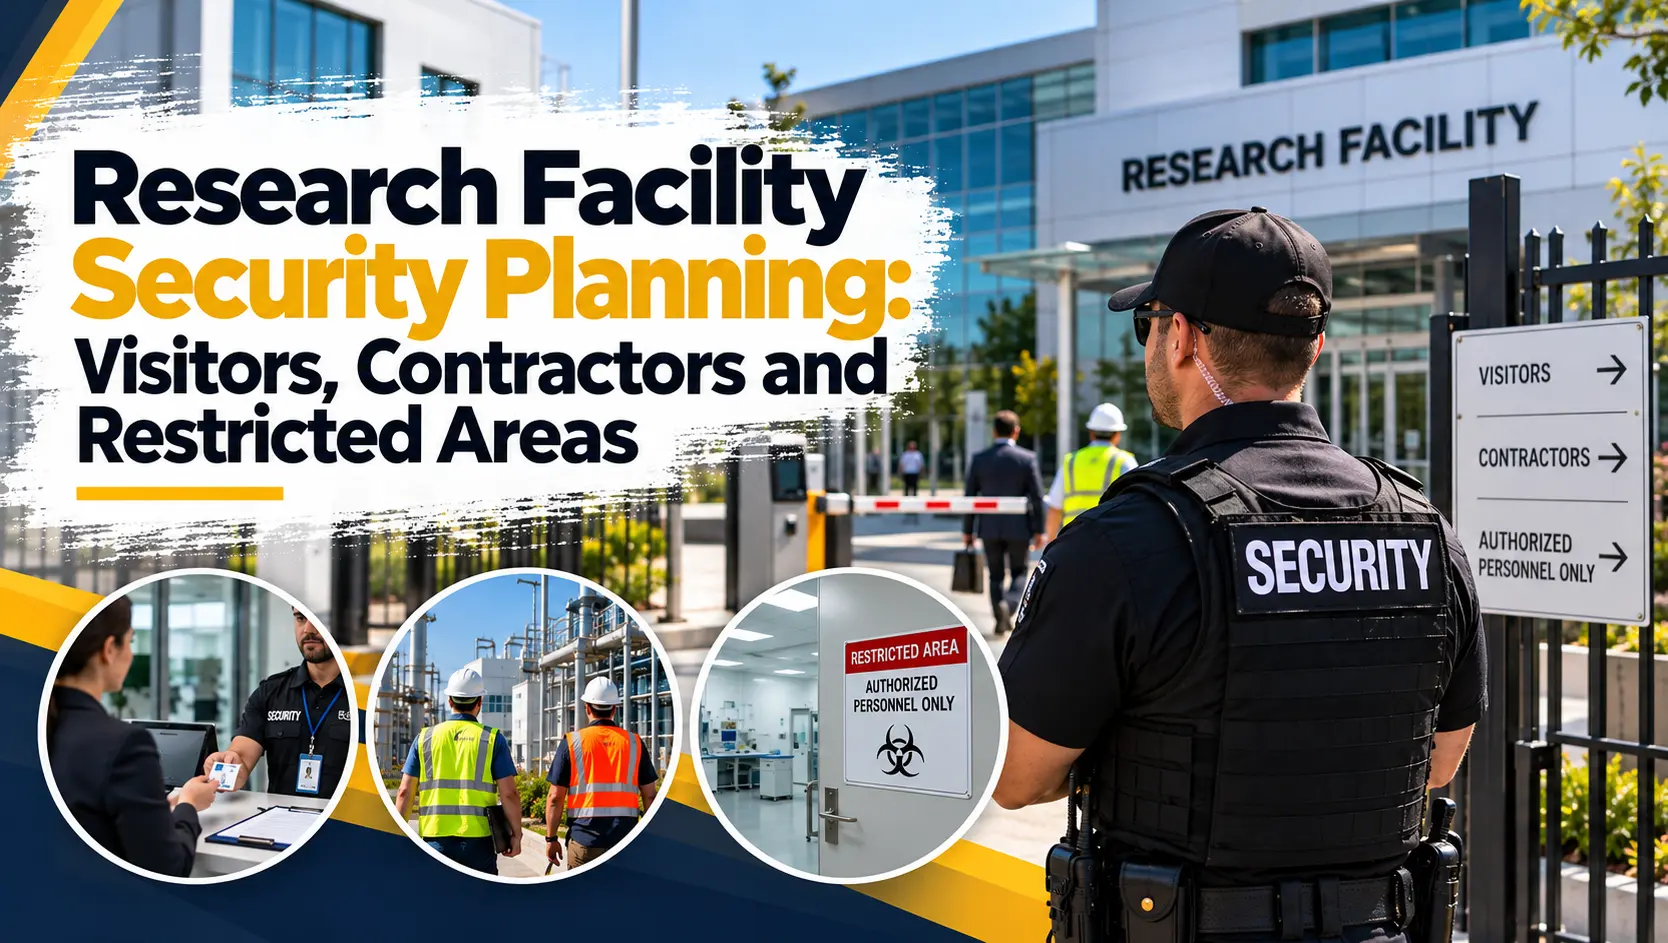
A research facility rarely loses its work to someone breaking a window. The bigger risk is a person who walked in the front door legitimately, like a contractor, a vendor, or a visitor, and then went somewhere they shouldn’t have. Research facility security planning is about controlling where people go once they’re inside.
Most facilities already have badges and a front desk, and that’s a good start. This guide walks through six steps, from zoning the building to placing security officers, so those tools work together as one plan.
Why Research Facilities Need to Have Their Own Security Plan
Laboratory security planning involves more than just costly equipment. Laboratories contain research data, samples and materials, and losses or tampering can delay a project by several months. Also, some studies are subject to biosafety or export-control regulations; verify if a plan is subject to those regulations with your compliance team before finalizing it.
There are three groups of people who pass through a research building every day, and each group has its own rules:
- Employees: Researchers and staff require varying levels of authorization, but many buildings issue the same badge.
- Visitors: Guests, auditors, and collaborators come in for a short visit and rarely know which doors are off limits.
- Contractors: Service technicians and cleaning crews all require access into sensitive rooms to complete their work.
Step 1: Map Your Facility Into Access Zones
Good planning starts with a floor plan, not a guard schedule. Walk the building with your lab leads and sort every space into one of three zones: public, controlled, or restricted. Each zone gets its own rules for who can enter and how.
| Zone | Example Spaces | Who Can Enter | Entry Control |
| Public | Lobby, reception, conference rooms near the entrance | Anyone checked in at the front desk | Reception and a visitor badge |
| Controlled | General labs, offices, shared equipment rooms | Employees, plus escorted visitors and approved contractors | Badge reader on each door |
| Restricted | Sample storage, cleanrooms, vivariums, server rooms, controlled-research labs | Named employees only; others by written approval with an escort | Badge plus PIN or biometric, with every entry logged |
Mark each zone with clear signs on the door, so contractors and visitors know where they cannot go. Your facility perimeter and loading entrances belong on the same map, since they’re often the easiest way in.
Zoning also makes scientists happy. The few rooms requiring strict controls remain under strict control, and the daily routine in general laboratories continues.
Step 2: Assign Access By Role, Not By Request
Research facility access control will function if each individual is able to open only the doors they need for their duties. However, over the years, access slowly sloshes up. Many people get promoted, move to a new project and retain all the old permissions. It can be prevented by following a couple of simple rules.
- Assign access to each employee based on his/her role; have a supervisor approve any access beyond that.
- Provide temporary staff and contractors with temporary credentials which expire on a specific date.
- Check the entire access list at least every quarter.
- Close the access on the same day as someone leaves the organisation.
Step 3: Manage Visitors At the First Door
No one should be an unknown quantity in your lobby. Pre-registration will allow front desk to verify the host, purpose of the visit, and area(s) the guest is allowed access to. Identification verification and a dated visitor badge with escort requirements take care of the rest of the stay.
Step 4: Build a Contractor Access Process
Contractors are the hardest group to control, because their work often takes them straight into restricted zones. A written contractor access control process removes the guesswork for both the front desk and the lab team. It should follow these steps.
- Assign each contractor a named sponsor inside the facility who approves the visit.
- Verify the company and each worker’s contractor credentials before the first visit.
- Issue a temporary credential limited to the zones, dates, and hours of the job.
- Route deliveries and equipment through designated loading entrances, not the main lobby.
- Escort contractors in restricted zones, or require written approval naming the person and the room.
- Collect the badge at sign-out and confirm the credential is deactivated.
Regular vendors, like cleaning crews and equipment service teams, often end up with standing exceptions to these rules. That’s risky, because familiarity is not authorization, and a vendor can swap crew members without telling you. Review recurring contractors’ access on the same schedule you use for employees.
Step 5: Lock Down Restricted Areas
Restricted area security depends on knowing exactly who entered and when. A single badge is easy to share or lend to a coworker, which is why restricted rooms need a second check. The controls below close the most common gaps.
- Require a second factor, such as a PIN or biometric, on every restricted door.
- Train staff not to hold restricted doors open for anyone, even familiar faces.
- Fit secure doors with alarms that alert security when a door is propped or forced.
- Place cameras at every restricted entry so footage matches the access logs.
- Review restricted-area access logs every week for entries at odd hours or by unexpected people.
Step 6: Deploy Security Officers at Points of Control
Research facility security guards can prevent a problem before it happens, while access control systems can be used to record entries. Officers should be stationed at areas where people and materials enter the building.
- Lobby checkpoint officer: Checks identity, assigns visitor badges and checks with each host before a guest leaves the lobby.
- Loading entrance officer: Verifies the contractor’s qualifications and records deliveries before items enter a lab.
- Roving officer: Patrols and monitors secure doors and restricted/controlled areas and acts on door alarms.
Frequently Asked Questions
Often the following questions arise when teams begin to develop a plan.
What elements are needed in a research facility security plan?
It should include access zones, role based access, visitor and contractor procedures, restricted area controls, and officer posts. Review the plan whenever the building layout or research changes.
Should contractors ever be allowed to enter restricted areas without an escort?
Only with written permission specifying the person, room and time. Still, using an escort is a more secure alternative.
How frequently should access to research facility be reviewed?
Check it at least every three months, and strip access the same day that anyone leaves. Logs in restricted areas should be closely monitored each week.
Start With the Floor Plan
Start by printing a floor plan and marking each space as public, controlled, or restricted. Research facility security planning gets much easier once everyone can see where the lines are. All Florida Security Services offers a security assessment that reviews your zones, contractor procedures, and officer placement. Contact our team today to schedule yours.